📖 Table of Content:
Cats are great at grooming themselves, but does your cat need a cat sanitary trim, too?
Contrary to what you’ve been conditioned to think, brushing your cat’s coat, trimming your cat’s claws, and bathing her can make a world of difference. Sure, she’ll groom her coat, too, but she’s going to have a harder time with hairballs and matted hair.
Moreover, the two of you are going to bond over pampering each other, spending quality time with each other, and spilling the tea (we know you can’t wait to dish about what’s going on at work). In short, grooming your cat’s coat makes her happier and healthier than ever.
Now, you probably already knew that you needed to take care of your cat’s coat as much as you take care of her nutrition, hydration, and regular vet checkups. But you wouldn’t be the only one to be surprised to learn that you’re supposed to provide your cat with regular sanitary trims, too.
When you’re a pet parent to a Maine Coon, Ragdoll, or any animal with long, luscious locks, you might notice that her hair gets matted, grubby, and smelly around the area we’d refer to as her “bottom.”
When your cat uses the litter box, she might get urine and feces stuck on her coat, which can cause a myriad of problems. We suggest scheduling an appointment with a vet or a groomer the first time, but there’s no reason you aren’t able to perform a sanitary trim on your cat, too.
Read more down below!
What is a sanitary trim?
Okay, here’s the thing. When you notice your cat behaving differently while peeing or pooping, you might need to check her bottom to see whether there’s something wrong there. What do we mean by that?
When cats pee or poop, bacteria tend to stick to their coats around that area. With time, cats can develop a host of symptoms that point toward UTIs or other irritating infections.
We’re referring to symptoms such as refusing to pee or poop, peeing or pooping outside the litter box, dragging the bottom area on the ground, pawing at the bottom area, and even shedding excessively around the bottom area.
Cats with long, luscious locks are more prone to these problems, but that doesn’t mean cats with shorter coats don’t need sanitary trims. We’d argue that all cats need sanitary trims to improve hygiene and reduce the risk of infections, but fluffier felines might need to have them more often.
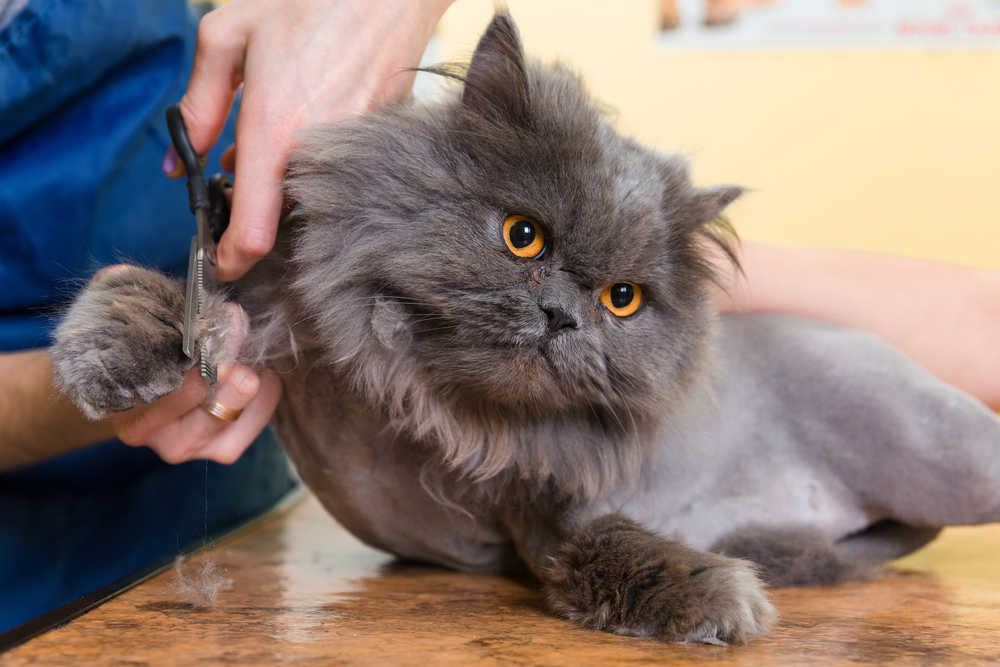
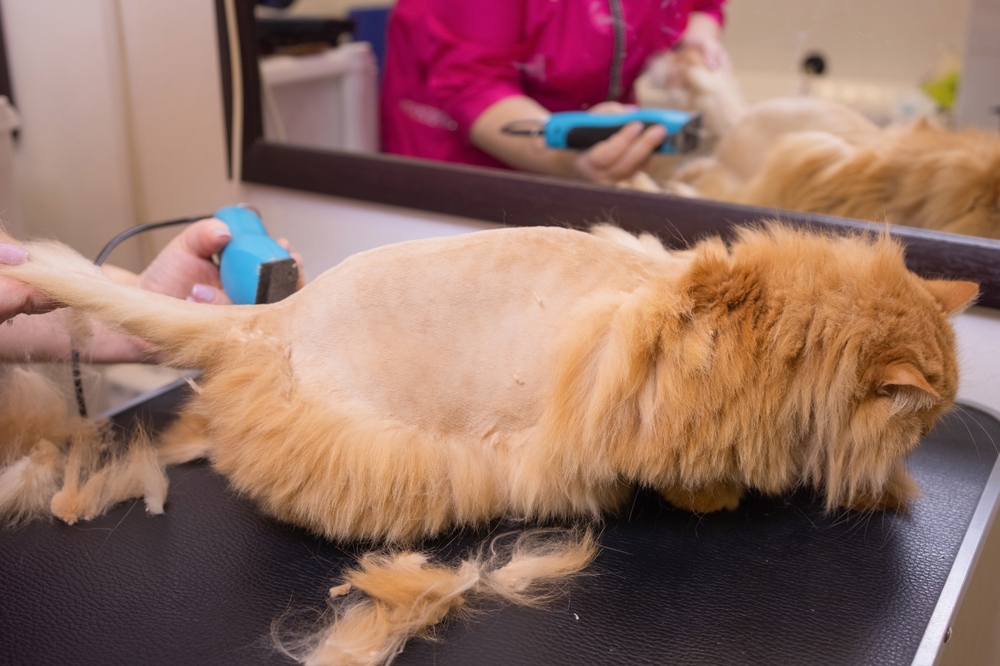
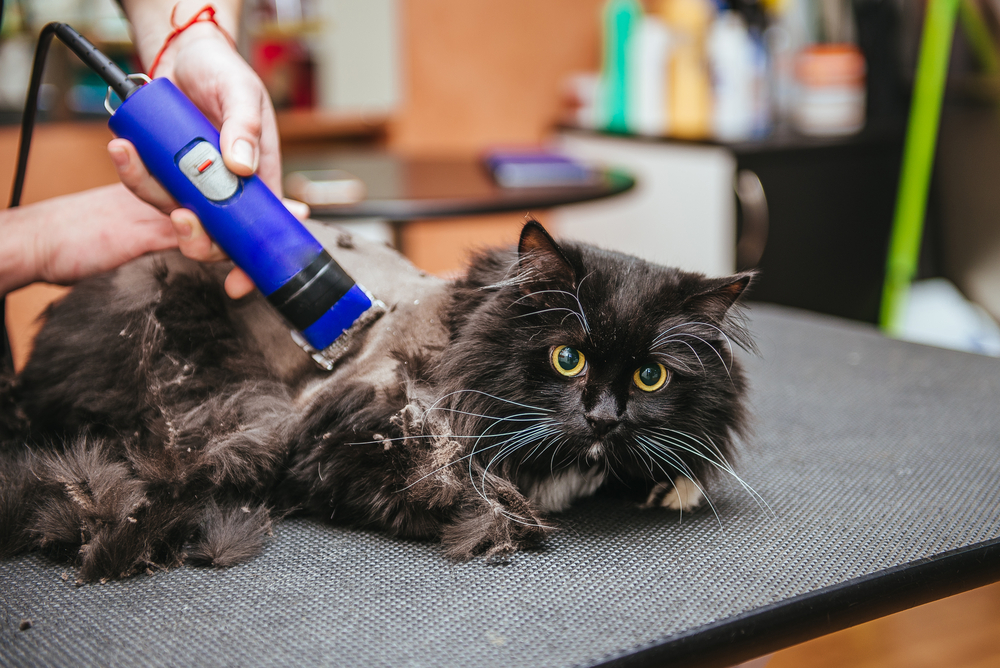
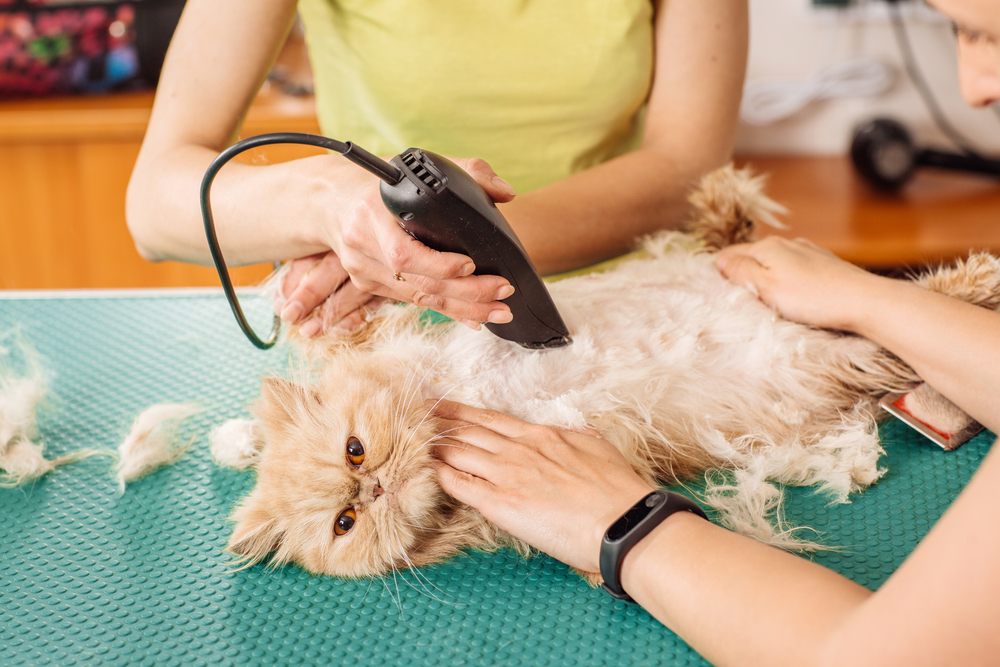
Sanitary trims are great because they’re much more manageable than shaving or plucking. They’re considered low-stress techniques that aren’t going to send your cat running around the apartment, screaming bloody murder. Sanitary trims keep your cat’s coat short, neat, and clean.
How often does your cat need a sanitary trim?
First off, every cat comes with different needs. Cats with shorter coats don’t need sanitary trims as often as cats with longer coats. Cats that groom themselves and keep themselves clean without problems might not need sanitary trims at all.
Furthermore, cats suffering from certain conditions such as overgrooming, excessive shedding, and allergies might need special sanitary trims.
When you consider these things, you can conclude that there’s no right or wrong way of answering the question. But here’s what most vets, groomers, and experienced pet parents say: Most fluffy felines that are prone to dirty bottoms need sanitary trims every four to eight weeks.
Most kittens need the same schedule because they’re still learning how to take care of themselves. Moreover, some cats might be better off with a regular trim every eight to twelve weeks – with regular trims, your cat might not even need a sanitary trim.
We’d argue that you need to observe your cat’s coat and figure out whether she needs a sanitary or a regular trim. With proper grooming, there’s likely no reason your four-legged friend would ever need to have her bottom shaved – trimming, clipping, and maintaining should do the trick.
Can you perform a sanitary trim on your cat yourself?
Yes, you can perform a sanitary trim on your cat (sort of). You know your cat better than your groomer or your vet, which means your cat might be more comfortable around you.
You can prepare her for the trim, talk to her to calm her down and decipher her behavior to ensure she’s comfortable with what you’re doing. But… There’s always a but when we’re talking about DIYing anything related to your cat’s grooming.
Number one, you need to do your research and talk to your vet before you try to give your cat a sanitary trim. If you’ve got the go-ahead, you then need to prepare the equipment and remember everything your groomer did to ensure you’re doing it all right.
Number two, you need to know the risks and ramifications of the procedure on the chance that you do something wrong. Needless to say, you could end up hurting your cat. Whatever you decide to do, we recommend that you consult with a vet or a groomer to ensure you’re doing what’s best for your cat.
How to perform a sanitary trim on your cat
1. Equipment
When planning on performing a sanitary trim on your cat, you need to make sure you have the necessary equipment. We’d suggest getting the same one as what the vet or groomer uses and then seeing what techniques they’re employing.
For a DIY session, prepare a pair of trimming scissors or clippers for cats, a comb, a lubricant (petroleum jelly or some other sanitary lubricant), warm water, a clean cloth or a towel, and a helper.
Furthermore, prepare your cat for the trim by giving her plenty of treats and positive reinforcement to make her as comfortable as possible.
2. Step-by-step guide
Cats aren’t fans of sanitary trims, that’s for sure. Contrary to popular belief, cats aren’t obsessed with pampering sessions as much as we are – but that doesn’t mean that you can’t make the experience enjoyable and entertaining.
Prepare a grooming corner by putting a towel on the floor and the supplies and treats on the towel. You may want to go a step further and decorate the area with something your cat might find entertaining or relaxing.
Clean the area around her bottom and her belly with warm water and a clean cloth. Use a comb and a lubricant to remove mats and tangles from her fur. Use the trimming scissors or the clippers to cut the fur around her but shorter – make sure you don’t go too short or too close to her skin.
Comb the area once more to get rid of rogue fur and go over everything with a clean cloth. Pat the area dry and you’re done.
3. Tips and tricks
Sanitary trims don’t sound that bad, right? But when you’re trying to get your cat to behave, stop wiggling her bottom, or stop trying to scratch your eyes out, you might need to rethink your strategy.
Before you even start, make sure you show her the equipment you’re going to work with, allow her to sniff around, and reward her with treats. Start slowly by rubbing her belly, brushing her fur, and checking her reactions now and then.
Whenever she gets scared or uncomfortable, stop for a second and wait for her to calm down. Give her treats, play with her, or do something you know she adores doing, then continue when she’s ready.
Remember that you don’t need to finish the trim right away, especially when you’re giving her a sanitary trim for the first time. Rather than freaking out, go to the vet one more time and try the DIY method next time she needs a trim.
When to seek professional help with a sanitary trim
First off, there’s no rule book saying you have to do a DIY sanitary trim. If you’re struggling to trim her fur or your cat doesn’t trust you with the task, there’s no reason you should continue trying.
Schedule regular appointments, make sure you get your cat there on time, and you’re done – that’s all you need to do to ensure your cat doesn’t have a soiled bottom!
Furthermore, your cat might suffer from a condition that prevents you from grooming her fur.
You’re better off turning to a pro for help to ensure you don’t end up hurting your cat during the process. You might not have a Maine Coon, but that doesn’t mean that you shouldn’t provide your feline friend with regular sanitary trims.
How to care for your cat after a sanitary trim
Whether you go to the vet or groomer, or you decide on a DIY sanitary trim, you need to provide your cat with great aftercare to ensure she’s happy and healthy. We suggest keeping a close eye on her for the first few days to ensure she doesn’t develop irritation or an infection around the area.
Clean the area with warm water and a clean cloth for the first few days, too. When she’s comfortable with that, make sure you brush her fur more often to prevent mats and tangles from forming. Whatever you opt for, good luck!
