📖 Table of Content:
“My cat has worms, how do I clean my house?!” You think in panic, imagining all those little nasty parasites crawling on your floor. Yikes! Just thinking about it makes me shiver… It’s sad to think that they’re living inside your dear fluff.
It’s truly challenging to deal with this, and you can tell your furbaby is going through a lot. Don’t worry, this is pretty common among our feline friends. However, even though they can be treated, your fluff could easily get infected again if she’s living in an environment where worms reside.
If your kitty likes to roam outside from time to time, it’s possible that she picked up these pesky parasites on one of her little adventures. Although the thought of worms may make you squirm in your seat, it’s important that you deal with this issue right away for the sake of your cat’s and your family’s health.
So, it’s time to unleash your inner Monica Geller from Friends, grab your cleaning agents, arm yourself with cloths and cleaning gloves, and get to scrubbing. Together, we’ll find out how you can clean your house after finding out your cat has worms. Let’s get to business!
How do cats get worms?
Oh, no, no… Not every type of worm is transmitted the same. These nasty parasites come in many shapes and sizes, and they have their own ways of getting to your kitty.
For example, a tapeworm has its own wingman – the cat flea. How does this happen? Well, here’s how it goes: As your kitty does some grooming and cleaning, she may accidentally swallow an infected flea. Once it enters her gastrointestinal tract, she releases her wormy buddy. Yuck!
The most common ones, roundworms, are a bit of a different story. Their firm eggs can endure quite a lot, which is why they’re easily picked up and ingested from the soil or any other kind of surface. A not-so-fun fact: They can survive for months or even years in the infected area.
And, lastly, hookworms. These nasty troublemakers have a few tricks up their sleeves when it comes to finding their way into our feline friends. There’s the skin penetration method, where the larvae decide to get through the skin to your fluff’s intestine, where they make their new home.
Of course, your kitty could also swallow or inhale it during her grooming session. Or, it could be totally out of her control, and she could get it from her mother’s placenta! These are some stubborn parasites that will definitely fight for what they want – your dear feline’s tummy.
Signs of worms in cats
Are you panicking and thinking, “Oh no, my cat has worms! How do I clean my house?!” simply because you suspect she may be infected? If so, you may be interested in hearing some of the most common signs she may be dealing with these nasty invaders.
First off, there’s the classic, everyone’s least favorite sign: vomiting. If your kitty starts spewing her lunch and you notice something wiggling in her vomit, it’s a pretty clear sign that she got some squatters in her tummy. It’s definitely not the most pleasant sight, that’s for sure.
Next up, you may notice some changes in her stool, too. Diarrhea is one of the most common signs she may be infected, especially if there’s a bit of blood in it. On top of that, your kitty may be shedding pounds fast, despite her eating more than usual. These pesky parasites could be stealing her nutrition!
Another sign, especially evident in kittens, is a swollen or bloated stomach. If your feline’s tummy seems large and tight to the touch, there may be some wormy guests inside making themselves at home.
If left untreated, your furbaby may experience dehydration, anemia, weakness, and low blood pressure – all of the things you definitely want to avoid. Because of that, if you suspect that your fluff may be dealing with a worm infestation, it’s crucial that you seek help from your vet as soon as possible.
My cat has worms: How do I clean my house?
So, it’s confirmed: Your cat has worms. Now, how do you clean your house?! I’m sure you’ve already imagined all their nasty larvae living in your lovely home, waiting to be picked up and ingested. Not only is it dangerous for your family, but there’s a chance they may attack your fluff again.
If your kitty got her diagnosis and treatment, it’s time for you to get cleaning. Let’s make sure your lovely furbaby never has to deal with this issue again. Plus, you’ll feel a lot better knowing your home is clean, too.
1. Protect yourself
I hate to be the bearer of bad news, but some worm infections can be transmitted to humans, too. So, when it’s time to clean up your kitty’s unfortunate mess, it’s crucial to take some precautions. It doesn’t require much, so don’t worry.
I’m sure you already do this when you have your deep-cleaning sessions, but it’s always worth mentioning: Wear protective gear. Invest in a pair of rubber gloves and, if possible, go extra and wear a disposable apron and a mask. You may look like a complete clean freak, but who cares?
Why should it be disposable? Can’t you wear it again afterward? Well, I wouldn’t really recommend it. These sneaky parasites can be easily passed on, which is why it’s best to wear something that you can toss away as far as possible from your home when you’re done. Don’t bother with washing and disinfecting it!
2. Clean her litter box and feeding bowl
Before you get to scrubbing and cleaning your entire home from the ceiling to the floor, let’s start with the most important part: cleaning your fluff’s litter box. You should do this every day, to avoid your kitty stepping in her mess and picking the worms again.
Of course, you already clean your feline’s litter box regularly, but his time, let’s do it thoroughly. Grab some bleach disinfectant spray, put on your rubber gloves and a mask, and give her litter box a good and thorough spray-down. We want to get rid of every trace of their nasty eggs.
And, of course, don’t forget about her feeding bowls, too! Throw away any excess food and drinking water, and wash her bowls with hot soapy water. If you want it to be absolutely spotless, you can use a small amount of vinegar or hydrogen peroxide to disinfect them.
Once you’re done and her box and bowls are squeaky clean, it’s best to get rid of the gloves and the mask right away. Throw them away and forget about them. You don’t want any accidental contamination, do you?
3. Wash her bedding
Your little napping monster spends most of her days in her favorite sleeping spot, right? I’m sure you made it all cozy for her, with her soft, snug blankets and a cat bed she always looks forward to. Well, now it’s time to put it all in your washing machine and fight those nasty worms.
Wash her bedding and soft cuddle buddies in hot, soapy water that will help you get rid of those pesky parasites. Once the cycle is done, it’s time to move on to the next step and dry them on high heat. Toss them in the dryer and let the hot air do its thing.
The higher the heat, the better. We want to get rid of every trace that worms ever existed. Once everything is nice and dry, your cat’s bedding will be ready for her to enjoy again. Unfortunately, you’ll have to do this every day until the worm threat is long gone.
That could take around two to three weeks, so get ready to become a real cleaning pro. If possible, keep your cat in one location to reduce the chance of spreading any remaining worms. Make it as comfy as possible, so she’ll never want to leave.
4. Clean your carpets and floors
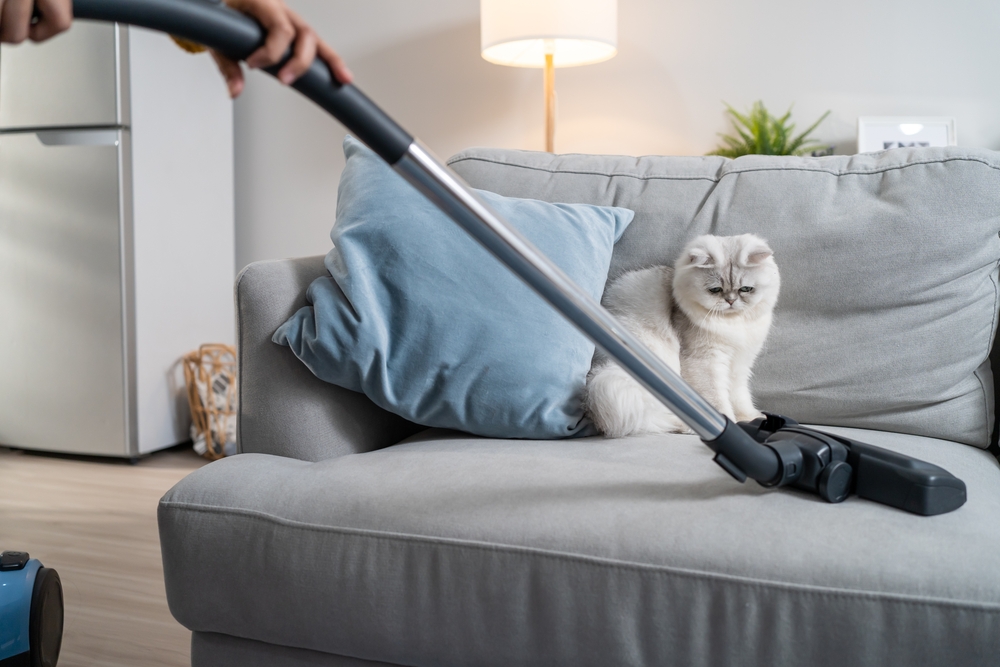
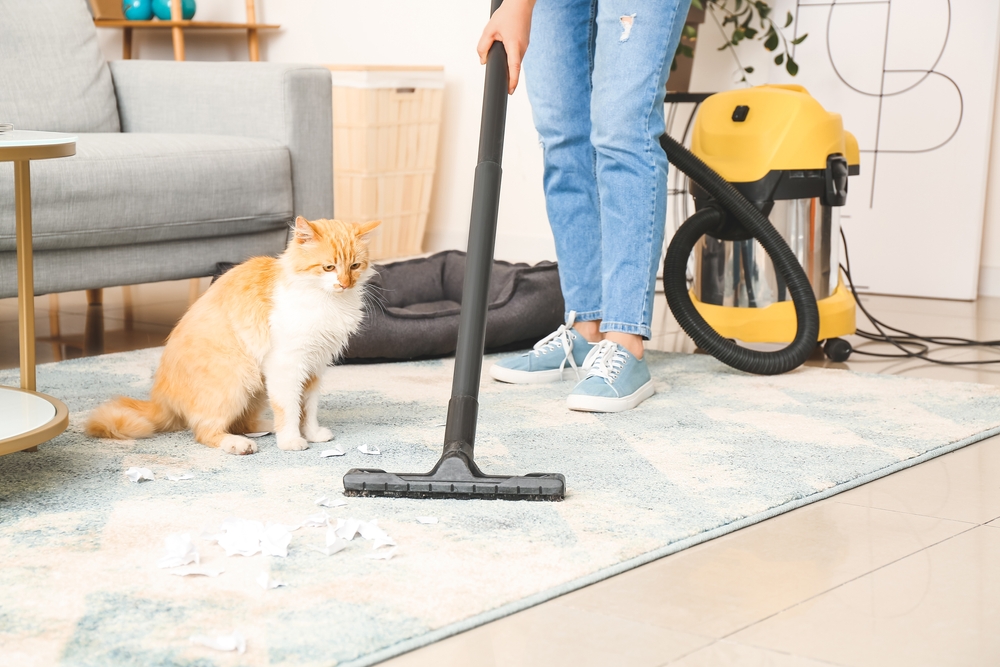
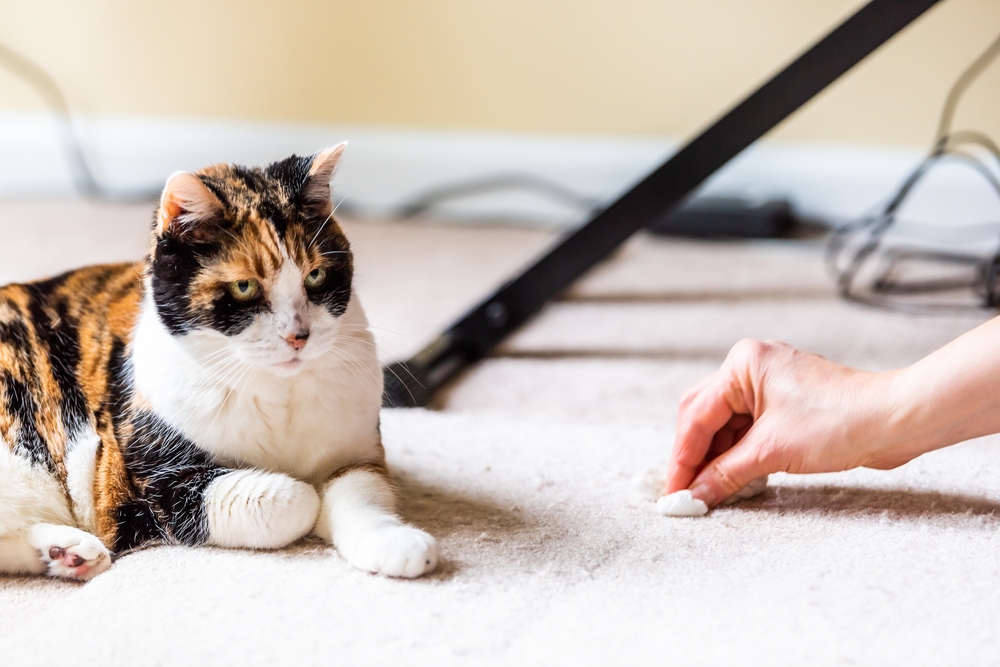
And, lastly, it’s time to clean your area of the house, too! Grab your dear vacuum cleaner and go over your carpet a couple of times, thoroughly. This will remove dirt and debris, which will create a nice base for your next step: cleaning.
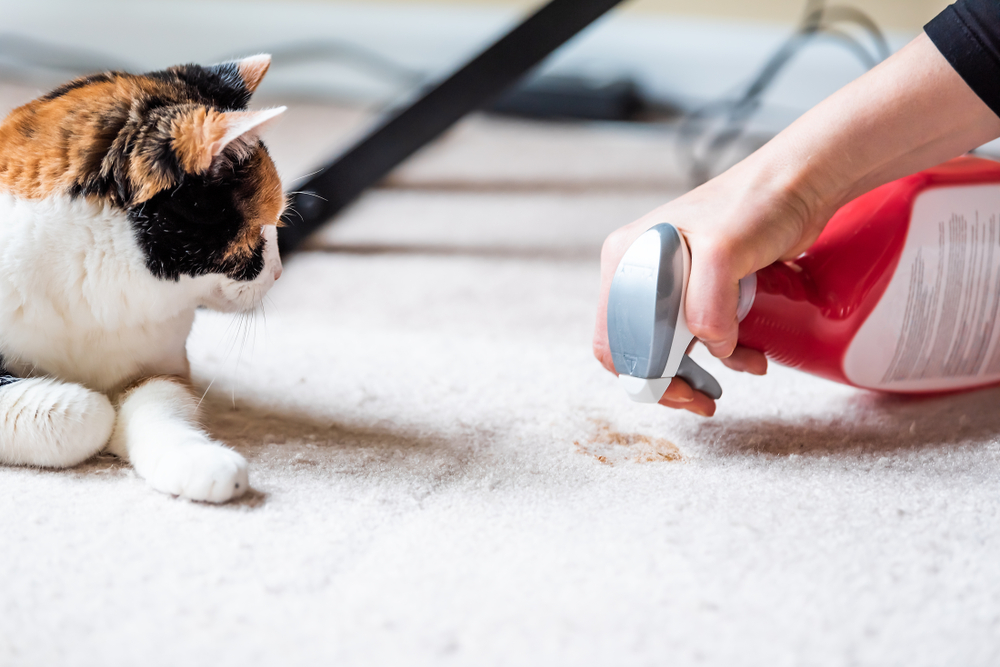
Give your carpet a nice and detailed shampooing. This will help you get rid of any remaining worm eggs, while also freshening up your space. It’s a win-win situation! If you want an extra dose of disinfection, you can use accelerated hydrogen peroxide. Make sure you test it out on a hidden part of your carpet, first.
Your wood or tile floors need some attention, too. Grab your trusty mop, dip it into a water and bleach solution, and give your floors some good-old mopping.
One more tip: Pay extra attention to the areas where your cat likes to play and nap. Do this often and you’ll have a worm-free space!
