📖 Table of Content:
Have an old suitcase collecting dust in your attic or tucked away in storage? Instead of tossing it out, why not give it a charming second life that your furry friend will love? Repurposing a vintage suitcase into a cozy pet bed is not only a fun DIY project—it’s a stylish, eco-friendly way to spoil your pet while adding a touch of character to your home decor.
Pets crave comfort and a sense of their own space, and a repurposed suitcase offers the perfect little nook for them to relax. Whether you have a cat who loves to curl up or a small dog who likes to lounge in luxury, this creative transformation provides both comfort and personality. Best of all, you don’t need any fancy tools or advanced crafting skills—just a bit of creativity and a few simple materials.
In this step-by-step guide, you’ll learn exactly how to turn that forgotten piece of luggage into a warm, stylish, and functional pet bed. From cleaning and customizing to cushioning and decorating, we’ll walk you through each part of the process so you can create a one-of-a-kind space your pet will adore. Let’s get started on turning trash into tail-wagging treasure!
1. Find the Perfect Suitcase
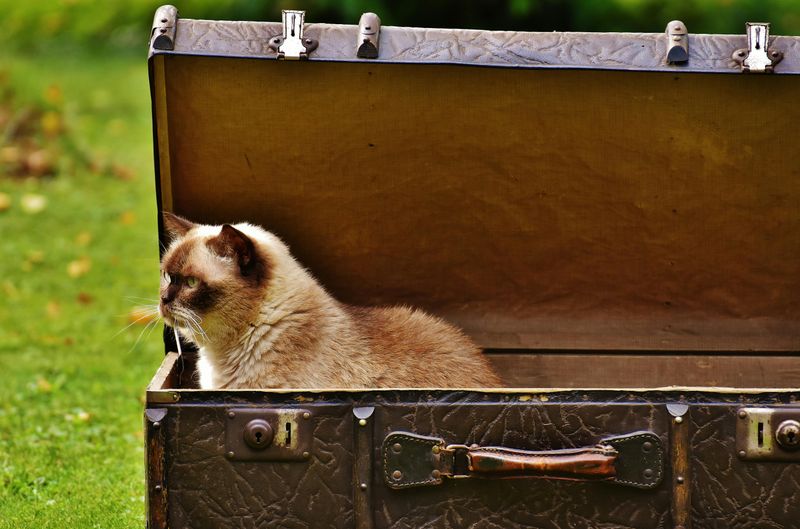
To kick off your project, start by hunting down a suitcase that’s sturdy, spacious, and full of character. Whether it’s a flea market find or something tucked away in your attic, the right suitcase sets the tone for the entire bed. Vintage models with hard shells work best because they’re durable and often come with charming details. Make sure the suitcase opens flat or has a deep enough base to comfortably fit your pet. The interior space should allow your pet to stretch, curl, or flop without feeling cramped. Consider the size of your pet now and as they grow—better to size up than end up with a tight squeeze later. Once you’ve got your ideal suitcase, you’re halfway to creating a cozy, stylish retreat.
2. Deep Clean It
Before diving into decorating, cleanliness is key. Begin by vacuuming out any lingering dust, crumbs, or pet hair that may be hiding in corners. Next, wipe down the entire surface—inside and out—with a pet-safe disinfectant or a vinegar-and-water solution. If you detect any stubborn odors, sprinkle in baking soda and let it sit overnight before vacuuming again. Old suitcases often harbor smells from decades past, so take your time with this step. A thorough clean not only improves hygiene but ensures your pet isn’t overwhelmed by unfamiliar scents. Once it’s fresh and dry, you’ll have a blank slate ready for transformation.
3. Remove Inner Clutter
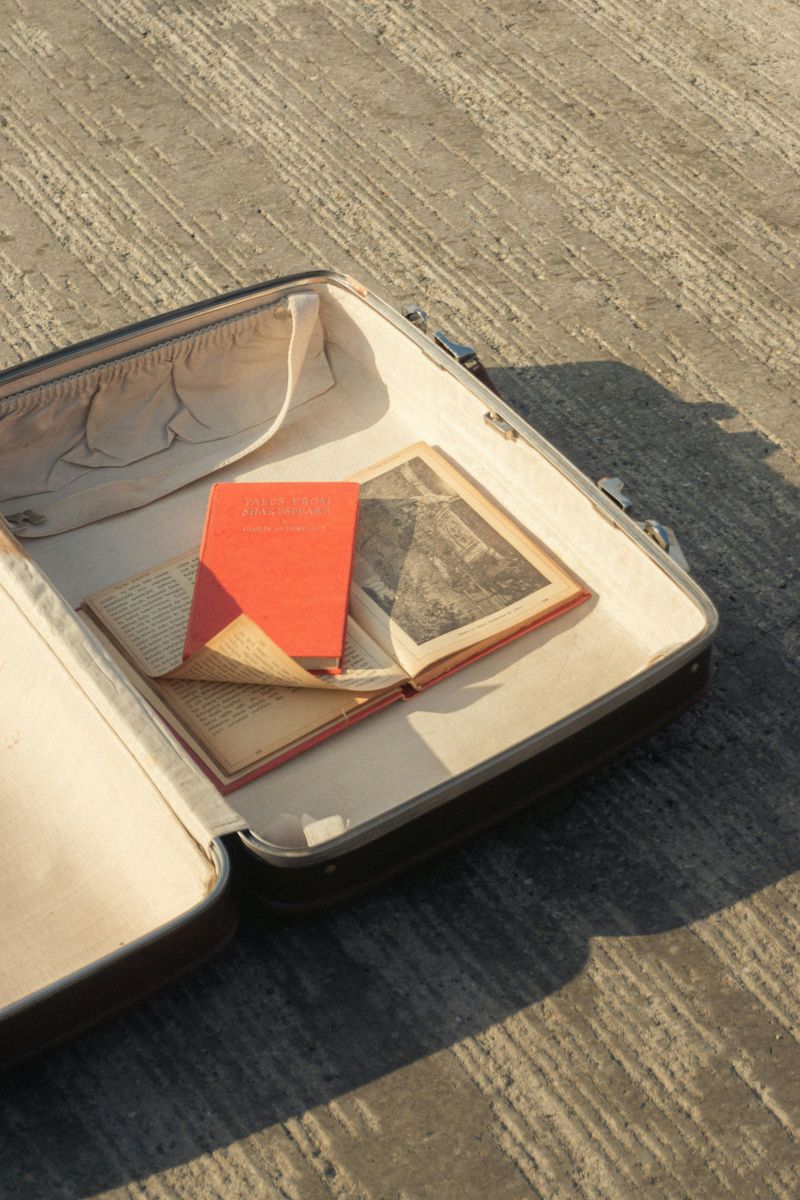
Stripping down the interior makes room for comfort and customization. Go ahead and unscrew or cut out any plastic flaps, fabric dividers, or pockets that limit the usable space. You want the inside to feel open and inviting—not crowded or awkwardly shaped. Be cautious around the hinges; keeping them intact allows you to leave the lid attached, which adds style and potential structure. If there’s a mirror or hard lining, remove or cover it to avoid safety risks. Every inch of extra space makes a difference, especially for pets who like to sprawl. Once cleared, the suitcase becomes a flexible shell for your creative vision.
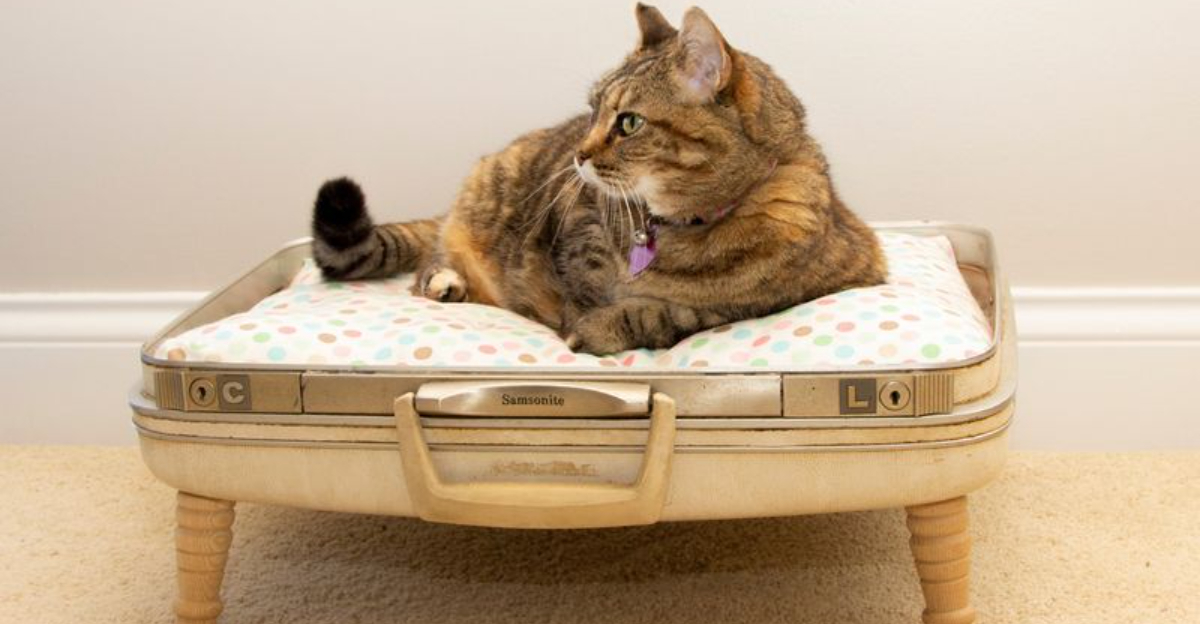
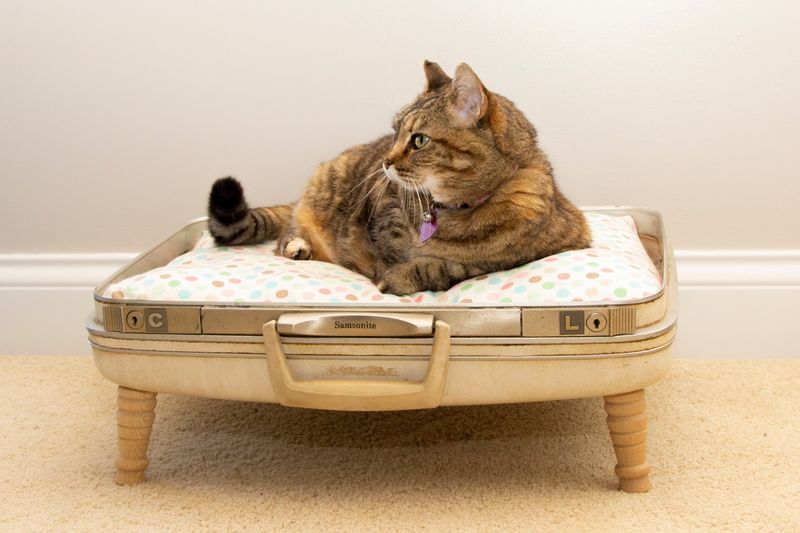
4. Attach Legs (Optional but Stylish)
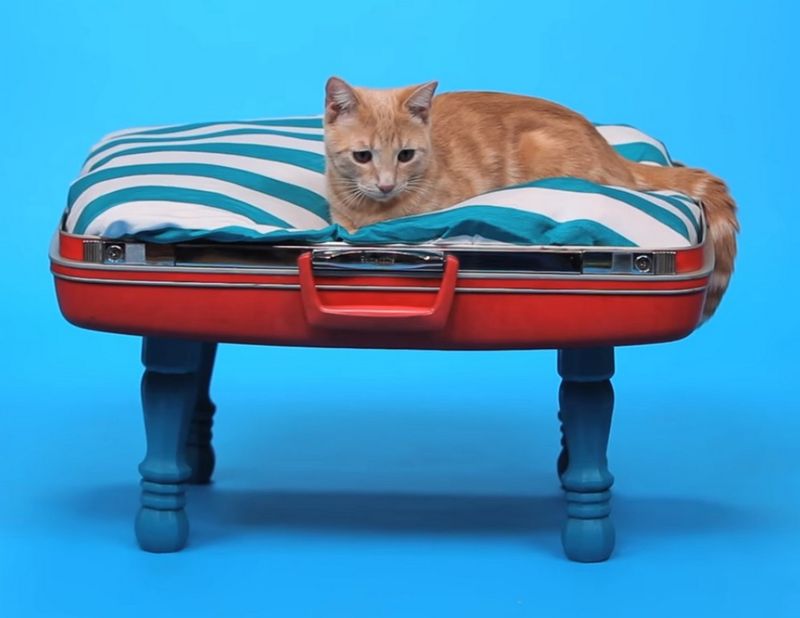
Elevating the suitcase adds a polished, furniture-like look and keeps it cleaner underneath. Attach legs from a craft store, repurpose feet from old furniture, or get creative with stacked books or wooden blocks. Secure the legs with screws and a drill to ensure they can handle your pet’s movement. This step isn’t just for looks—it also improves airflow beneath the bed and adds insulation from cold floors. For a sleek finish, consider painting the legs to match the suitcase. If your pet is older or small, you can skip this step or use shorter legs to keep access easy. Raised or not, your pet will appreciate the thoughtful design.
5. Add Soft Lining or Padding
Comfort is everything, and lining the interior creates a warm, plush environment. Cut fabric to fit the inside bottom and sides—think fleece, soft cotton, or faux fur. Use hot glue or fabric adhesive to keep everything smooth and secure. Avoid anything too slippery or hard to clean, as accidents and shedding are inevitable. Lining not only softens the look but also hides any remaining scuffs or marks inside the suitcase. You can mix textures or use patterned fabric for extra style. Once lined, the suitcase starts to feel less like luggage and more like a lounge.
6. Insert a Plush Cushion
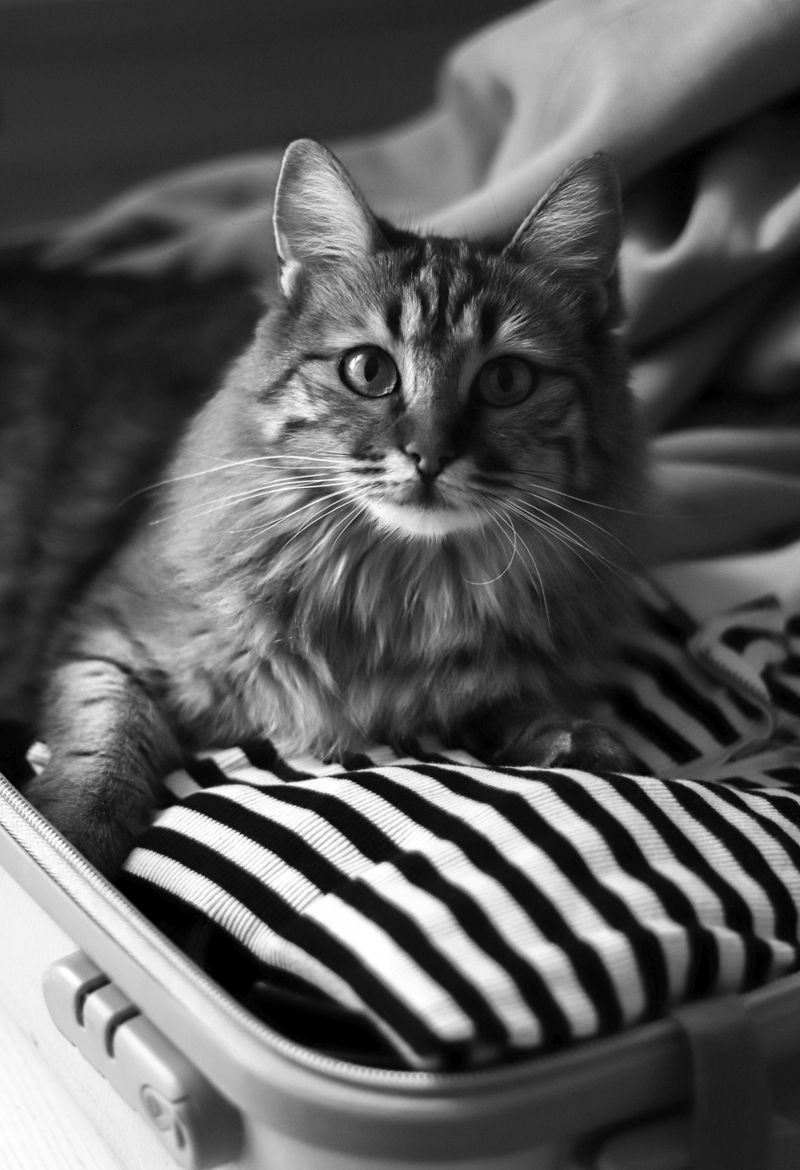
With the space cleaned and lined, it’s time to focus on the core of comfort: the cushion. Choose something thick and supportive, like a memory foam pad, pet bed insert, or even a cut-up pillow. Make sure it fits snugly inside without sliding around. Washable covers are a must—they make life easier and keep things fresh. You can also double up on softness by layering a throw blanket on top. A cushion turns the suitcase into a true sanctuary, perfect for hours of naps and cozy retreats. Your pet won’t want to leave!
7. Personalize It
Now comes the fun part—adding flair and personality! Paint the outside of the suitcase to match your home or your pet’s vibe. Use stencils to write their name or cute phrases like “Pet’s Palace” or “Nap Zone.” Decorative trim, ribbon, buttons, or decals can give it a boutique feel. If the lid is staying upright, you can hang small toys, mini photos, or string lights for extra charm. Don’t hold back—this is your chance to make something completely one-of-a-kind. Your pet may not notice the aesthetics, but they’ll love the care and comfort that come with it. Plus, your guests will be just as impressed as your furry friend!