📖 Table of Content:
- 1. Gather Your Supplies
- 2. Create a Calm Zone
- 3. Inspect with Care
- 4. Vet-Approved Solutions Only
- 5. Follow the Instructions
- 6. Apply with Precision
- 7. Massage the Base
- 8. Wipe Gently
- 9. Offer a Reward
- 10. Take Your Time
- 11. Repeat if Necessary
- 12. Avoid Q-Tips
- 13. Keep Sessions Brief
- 14. Monitor for Trouble
- 15. Know When to Stop
Maintaining clean ears is a vital component of your cat’s overall grooming routine, directly impacting their comfort and well-being. Regular ear cleaning helps prevent infections and other ear-related issues, ensuring your feline friend stays healthy. It also plays a significant role in early detection of potential problems. A little time spent on ear care can make a big difference in your cat’s quality of life.
This guide offers a comprehensive look at the best practices and precautions needed for a safe and effective ear cleaning routine. It covers everything from the appropriate tools and products to the correct techniques to use during the process. By following these carefully curated steps, you can confidently perform ear cleaning without causing stress to your pet. The tips are designed to simplify the process, making it both manageable and enjoyable.
Adhering to these guidelines will help you maintain your cat’s ear health and ward off potential complications. Regular checks and gentle cleaning can lead to early identification of any signs of irritation or infection. Over time, a consistent routine builds trust between you and your pet, making future sessions easier.
1. Gather Your Supplies
Before starting the ear cleaning process, gather all necessary supplies to ensure a smooth session. This includes a vet-approved ear cleaning solution, which is crucial for your cat’s safety. Soft cotton balls or gauze are gentle on their ears, and tasty treats will help keep your feline friend motivated. Having everything at hand avoids unnecessary breaks and keeps the environment calm. Always choose products that are specifically designed for cats, as other substances may cause irritation or harm. Remember, preparation is key to making the cleaning process quick and stress-free for both you and your cat.
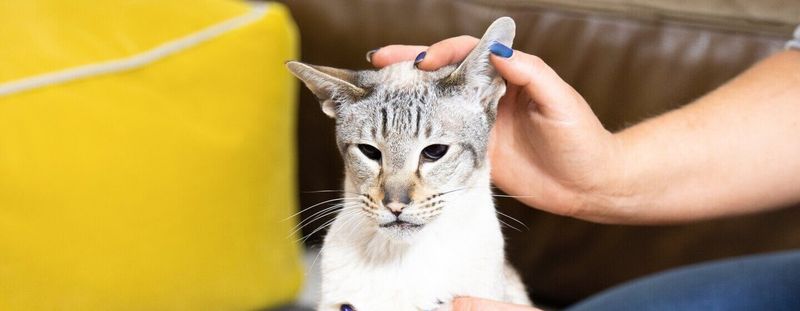
2. Create a Calm Zone
Choose a quiet spot in your home where your cat feels safe and relaxed. This is essential for minimizing stress during ear cleaning. Ensure the area is free from distractions like loud noises or other pets, as a calm environment fosters trust. Use a soft blanket or towel to create a comfortable space for your cat to sit or lie down. Lighting should be soft but sufficient to see what you’re doing. Creating a peaceful atmosphere is crucial for reducing anxiety and making the ear cleaning experience positive for both you and your feline.
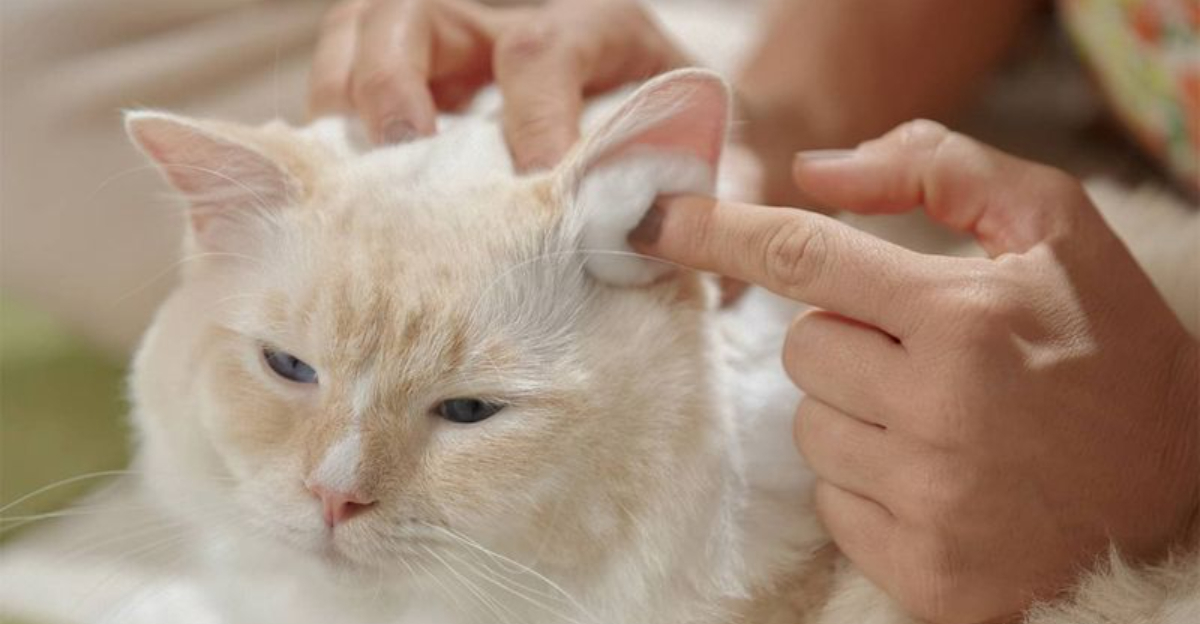
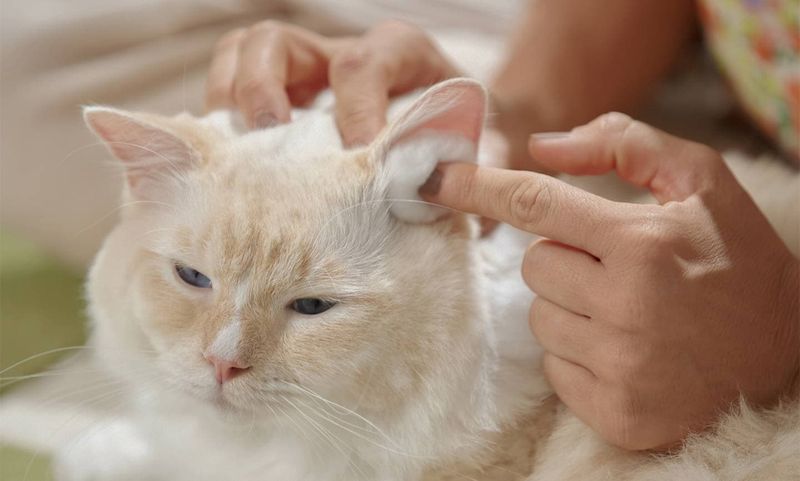
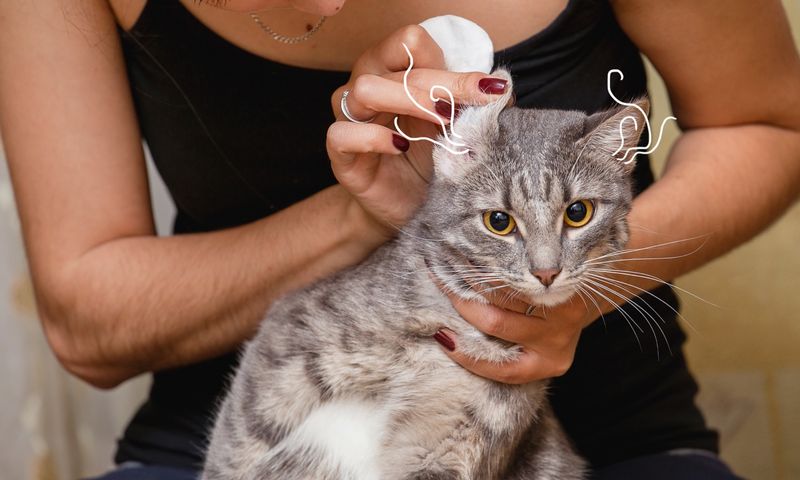
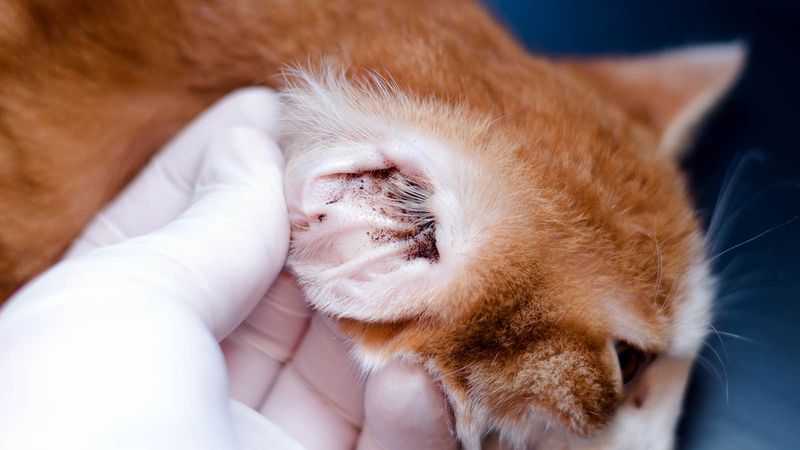
3. Inspect with Care
Gently inspect your cat’s ears before cleaning. Look for signs of redness, debris, or any unusual odors that might indicate an infection. Use your fingers to gently pull back the ear flap, allowing you to see the ear canal more clearly. This step is crucial for identifying any issues early on, ensuring that cleaning does not aggravate an existing problem. If you notice anything concerning, consult your veterinarian before proceeding. Regular inspection helps you become familiar with your cat’s normal ear condition, making it easier to detect abnormalities in the future.
4. Vet-Approved Solutions Only
Always opt for ear cleaning solutions recommended by your veterinarian. These products are specifically formulated to be safe and effective for cats, reducing the risk of irritation. Avoid using homemade remedies or solutions meant for humans, as they can be harmful. If unsure, consult your vet for recommendations tailored to your cat’s needs. Using the right solution ensures that the cleaning process supports your cat’s health rather than causing potential harm. Trust in veterinarian-approved products is crucial for maintaining the sensitive balance of your cat’s ear environment.
5. Follow the Instructions
Before applying the ear cleaning solution, thoroughly read the instructions on the label. Proper dosing is vital to avoid over-cleaning, which can irritate your cat’s ears. Follow the recommended amount and frequency of use. Instructions are there to ensure the solution is used effectively without causing harm. Misuse can lead to adverse effects, so understanding and adhering to guidelines is essential. If you have any questions or concerns, contact your veterinarian for clarification. Being informed and cautious helps ensure a smooth and safe cleaning process for your cat.
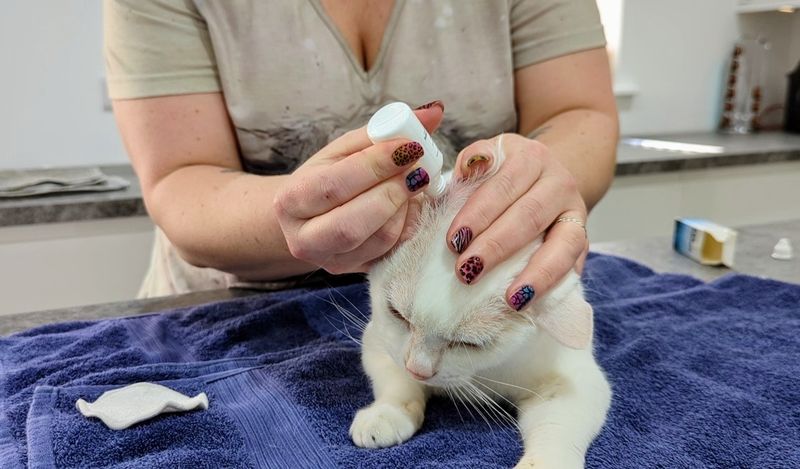
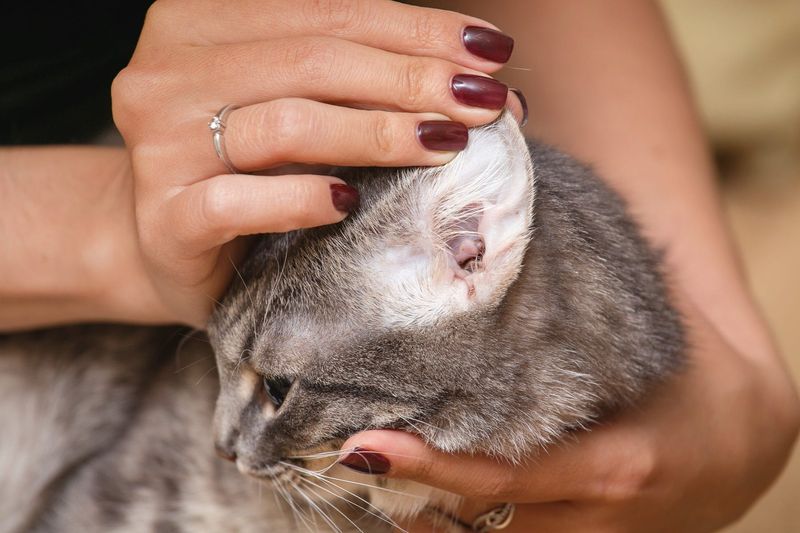
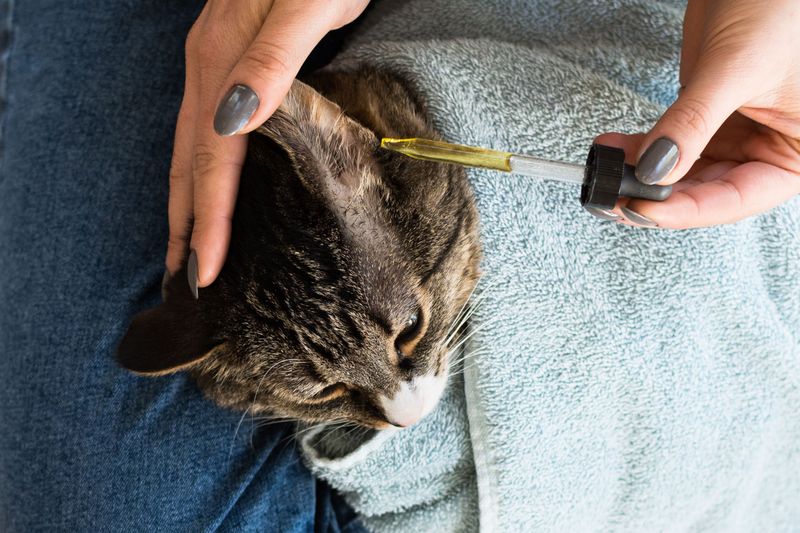
6. Apply with Precision
When applying the ear cleaning solution, precision is key. Gently hold your cat’s head still with one hand while using the other to apply a few drops into the ear canal. Avoid inserting anything deep inside, as this can cause injury. The aim is to let the solution naturally move through the ear. By being gentle and cautious, you help your cat remain calm and prevent discomfort or injury. Proper application ensures the solution can effectively loosen debris, making it easier to clean. This careful method promotes trust between you and your pet.
7. Massage the Base
After applying the cleaning solution, gently massage the base of your cat’s ear. This helps to loosen any built-up debris, making it easier to remove. Use slow, circular motions to promote comfort and relaxation. Massaging not only aids in cleaning but also provides a comforting touch that can soothe your cat. This tactile interaction helps reinforce a positive experience, making future cleaning sessions more manageable. Be attentive to your cat’s reactions; if they show signs of discomfort, stop and allow them a moment to relax. Gentle massaging is a key step in effective ear hygiene.
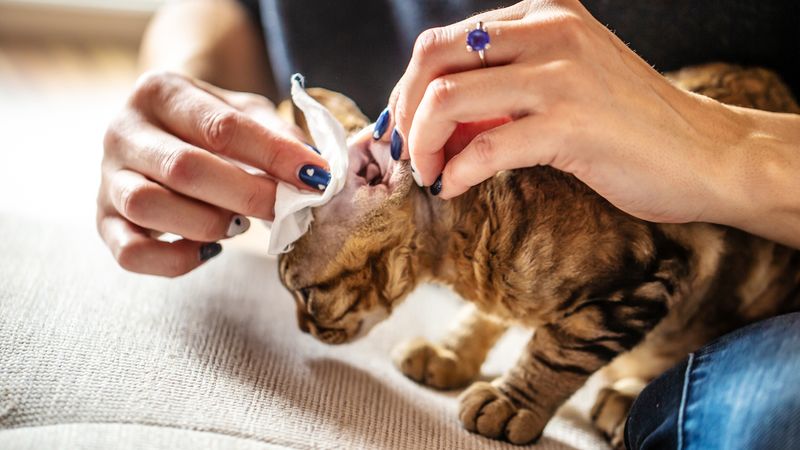
8. Wipe Gently
Using a soft cotton ball or gauze, gently wipe out any excess solution and loosened debris from your cat’s ear. Take care not to press too hard or insert the cotton ball deep into the ear canal. The goal is to clean the outer ear without causing discomfort. This gentle technique ensures the sensitive tissues inside the ear are not irritated or damaged. Regular, careful cleaning helps maintain ear health without causing stress. Always monitor your cat’s reactions, and if they appear uncomfortable, pause and allow them to relax. Gentle cleaning is crucial for maintaining trust.
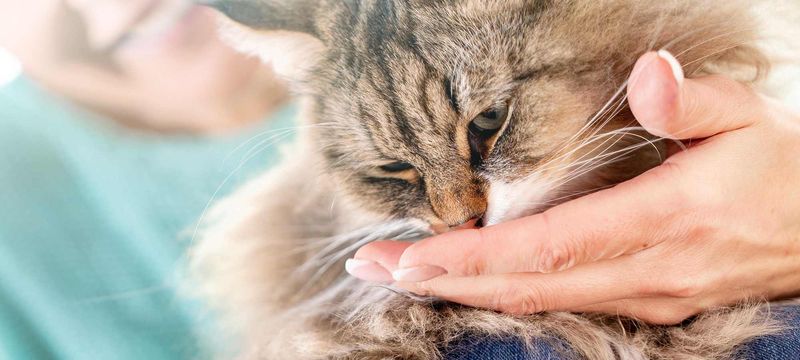
9. Offer a Reward
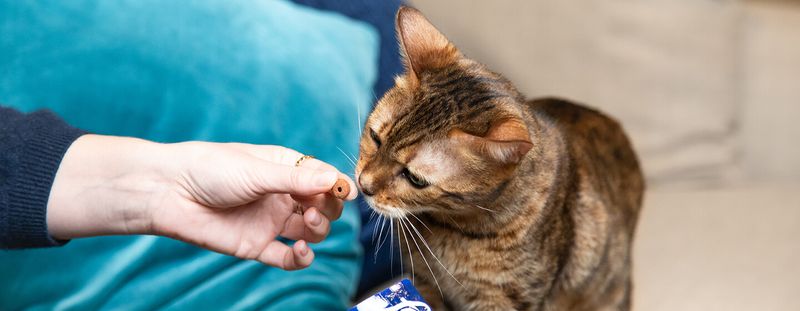
After cleaning each ear, offer your cat a treat or extra cuddles. This positive reinforcement helps make the ear cleaning process a rewarding experience for your feline friend. By associating the procedure with treats or affection, your cat is more likely to cooperate in future sessions. Rewards help reduce anxiety and build positive associations. Over time, your cat will learn to anticipate something pleasant after ear cleaning, making the process smoother for both of you. Remember, patience and positive reinforcement are key to a successful and stress-free ear cleaning routine.
10. Take Your Time
Approach ear cleaning with patience and take your time. Rushing can lead to mistakes and stress your cat. A slow, gentle approach helps build trust and ensures a thorough cleaning. Allow your cat to set the pace; pause if they seem anxious, and continue when they’re calm. This method fosters a positive experience, making future cleanings less daunting. By being patient, you demonstrate care and respect for your pet’s comfort. Taking the time to clean properly not only enhances the effectiveness of the cleaning but also strengthens the bond between you and your feline companion.
11. Repeat if Necessary
If your cat’s ears are particularly dirty, you may need to perform a second round of cleaning. Always keep it gentle and observe their reactions. It’s crucial not to overdo it, as excessive cleaning can irritate the sensitive ear tissues. A second cleaning should be as thorough and gentle as the first. If debris persists, consider consulting your veterinarian for further advice. Understanding when a repeat is needed helps maintain optimal ear health without causing discomfort. Regular checks and gentle cleaning ensure that your cat’s ears remain clean and healthy, preventing potential issues.
12. Avoid Q-Tips
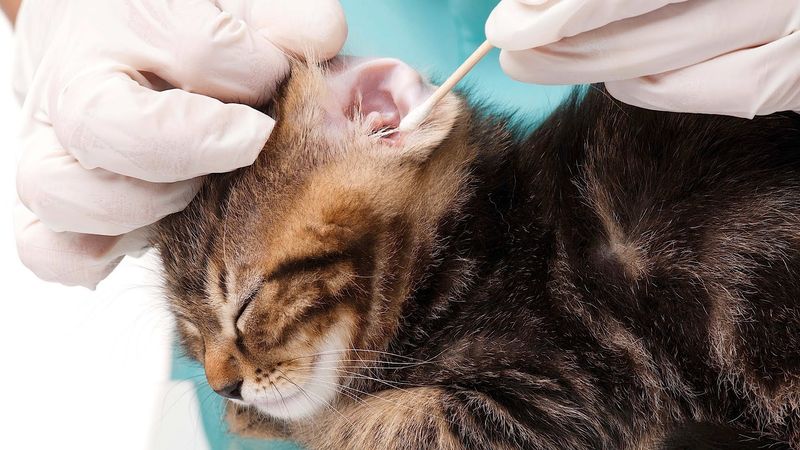
Resist the temptation to use Q-Tips for cleaning your cat’s ears. These can push debris further into the ear canal or cause injury. Q-Tips are not suitable for the delicate structure of a cat’s ear and can lead to complications. Instead, stick to soft cotton balls or gauze for safe cleaning. Using the right tools is essential for effective and safe ear hygiene. By avoiding Q-Tips, you prevent accidental harm and ensure a gentle cleaning process. This cautionary step is crucial for protecting your cat’s ear health and maintaining their overall well-being.
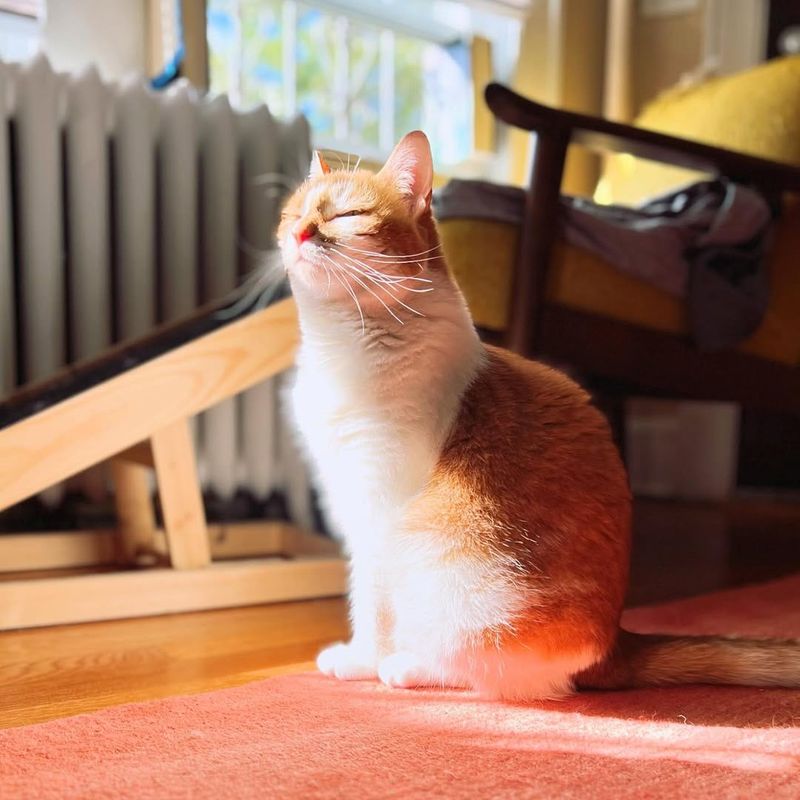
13. Keep Sessions Brief
Short, regular cleaning sessions are preferable to long, stressful ones. Start with brief sessions to build your cat’s comfort and confidence. Gradually increase the duration as your cat becomes more accustomed to the routine. Keeping sessions short reduces stress and makes the experience more manageable for both of you. It allows your cat to adjust at their own pace, promoting a positive association with cleaning. Regular, brief sessions ensure consistent ear hygiene without overwhelming your pet. This approach fosters a smoother process and encourages cooperation, making ear cleaning a stress-free part of your routine.
14. Monitor for Trouble
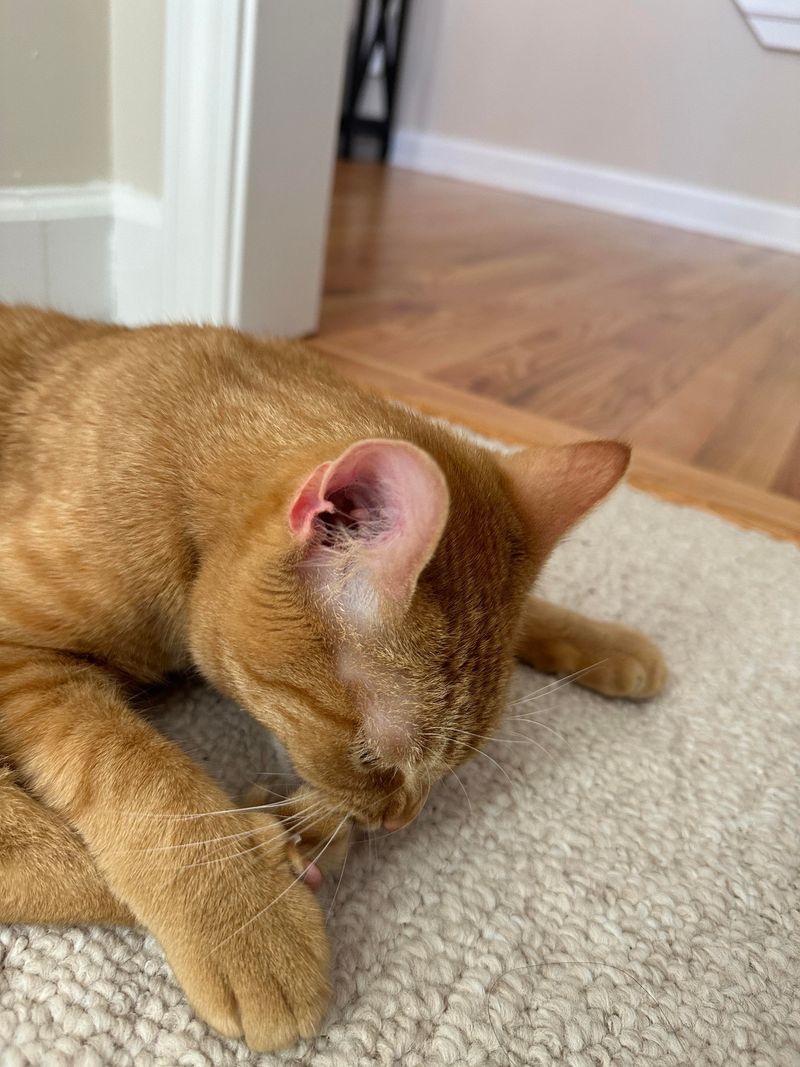
Keep an eye out for any signs of redness, swelling, or discomfort in your cat’s ears after cleaning. These may indicate irritation or an underlying issue that needs veterinary attention. Regular monitoring helps you catch potential problems early, preventing them from escalating. If you notice persistent issues, consult your veterinarian promptly. Monitoring is a critical aspect of maintaining your cat’s ear health. By staying vigilant, you ensure that any problems are addressed quickly, keeping your cat comfortable and healthy. Being observant and proactive is essential for effective ear care.
15. Know When to Stop
If your cat shows signs of distress or discomfort during the cleaning process, it’s important to stop immediately. Forcing the procedure can lead to fear and anxiety, making future cleanings more challenging. Give your cat a break, and try again later or seek professional help if necessary. Recognizing your pet’s limits and respecting them builds trust and makes the process less stressful. Knowing when to stop ensures that cleaning is a positive experience rather than a traumatic one. This understanding is vital for maintaining a harmonious relationship with your feline companion.