📖 Table of Content:
- 1. Monitor for Unusual Behavior
- 2. Keep Their Mouth Clean (Without Brushing)
- 3. Follow All Vet Instructions
- 4. Switch to Soft Food Temporarily
- 5. Prevent Rough Play or Chewing
- 6. Check the Surgery Site Daily
- 7. Limit Activity (at First)
- 8. Watch for Eating or Drinking Changes
- 9. Use an E-Collar if Necessary
- 10. Go to the Follow-Up Appointment
Dental procedures can be stressful—not just for your cat, but for you as a pet parent, too. Whether your furry friend had a single tooth removed or underwent a more extensive dental surgery, the recovery process plays a crucial role in their overall health and comfort. While the procedure itself might be over in a day, the aftercare can take several days to weeks and requires your close attention.
Cats often hide pain and discomfort, making it challenging to tell when something’s wrong. That’s why it’s so important to follow proper recovery steps at home. From managing pain and monitoring the surgical site to adjusting their diet and behavior, there are key things you can do to ensure your cat heals quickly and without complications.
In this guide, we’ll walk you through 10 essential things you must do after your cat’s tooth removal. Whether this is your first time navigating feline dental care or you’re just looking for a refresher, these tips will help you support your cat through a smooth and stress-free recovery.
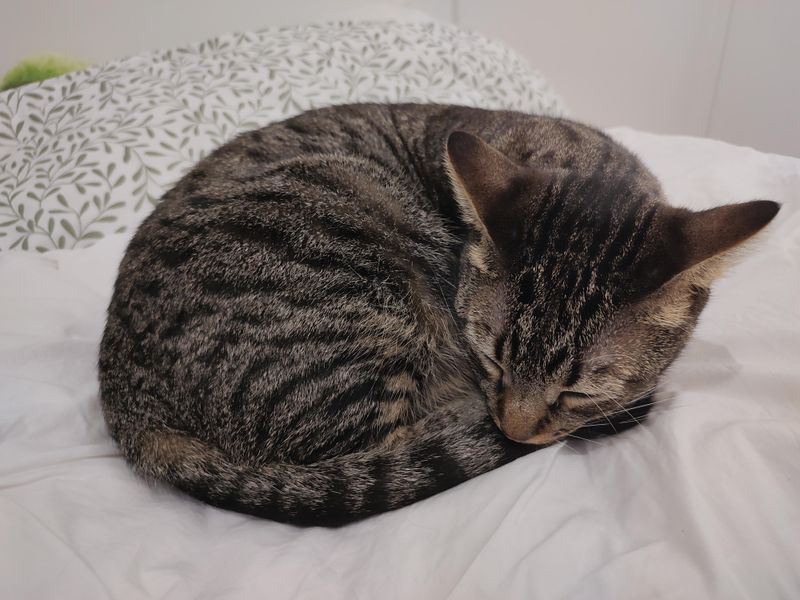
1. Monitor for Unusual Behavior

After dental surgery, your cat’s behavior can offer important clues about how they’re feeling. You might notice them hiding more often or avoiding you altogether. This could be a sign of discomfort or stress. Some cats drool excessively or paw at their mouth when something doesn’t feel right. It’s crucial not to overlook these subtle signs. Keep a close eye on your cat’s normal habits and note any sudden changes. Behavioral shifts, even minor ones, can signal pain or complications. When in doubt, always check in with your vet.
2. Keep Their Mouth Clean (Without Brushing)
While oral hygiene is important, brushing is a no-go immediately after surgery. Your cat’s mouth will be sensitive and sore. Instead of brushing, gently wipe around the outside of the mouth with a soft cloth if needed. Avoid touching the surgical site or opening their mouth. Infection can start quickly if debris builds up, so light cleaning of the outer area helps. Don’t use human toothpaste or harsh cleaners. Just water or a vet-approved rinse is safest. Keeping the area clean—without disturbing it—strikes the perfect balance.
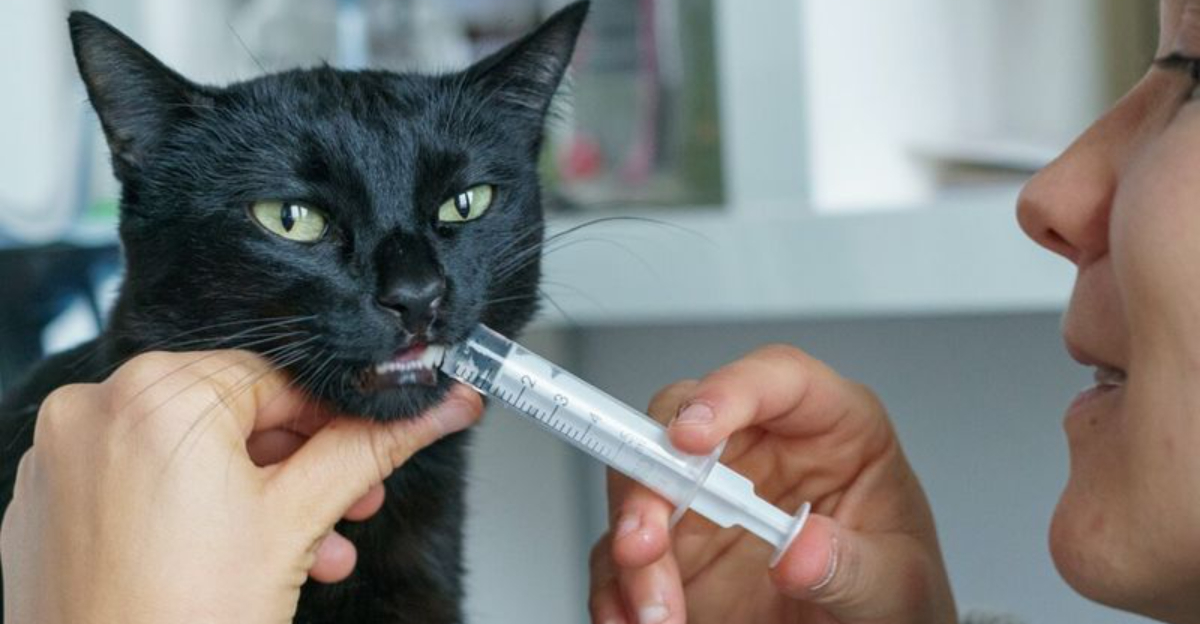
3. Follow All Vet Instructions
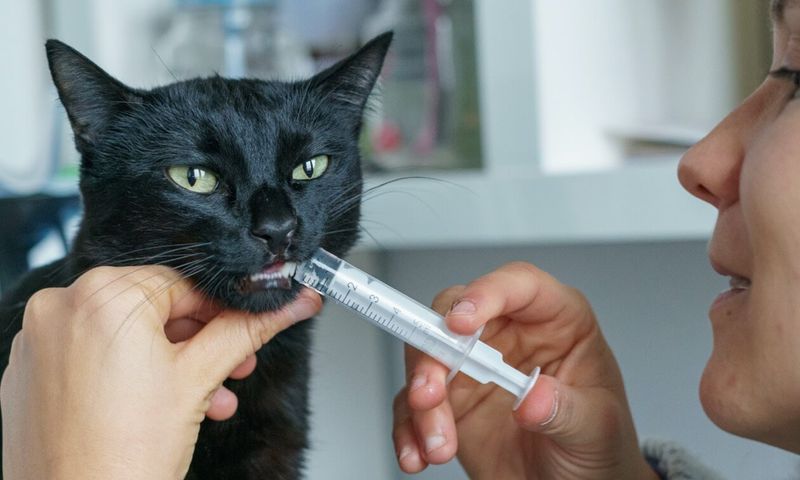
It might seem obvious, but following the vet’s instructions exactly can make or break your cat’s recovery. Medications are often prescribed to reduce pain and fight off infection. Giving the right dose at the right time is non-negotiable. Never skip a dose or stop medication early, even if your cat appears better. Your vet knows the full extent of the surgery, so their guidance is based on your cat’s specific needs. Resist the urge to “wing it” or rely on internet advice. Every cat is different, and their healing time varies. Trust the professional plan laid out for your pet.
4. Switch to Soft Food Temporarily
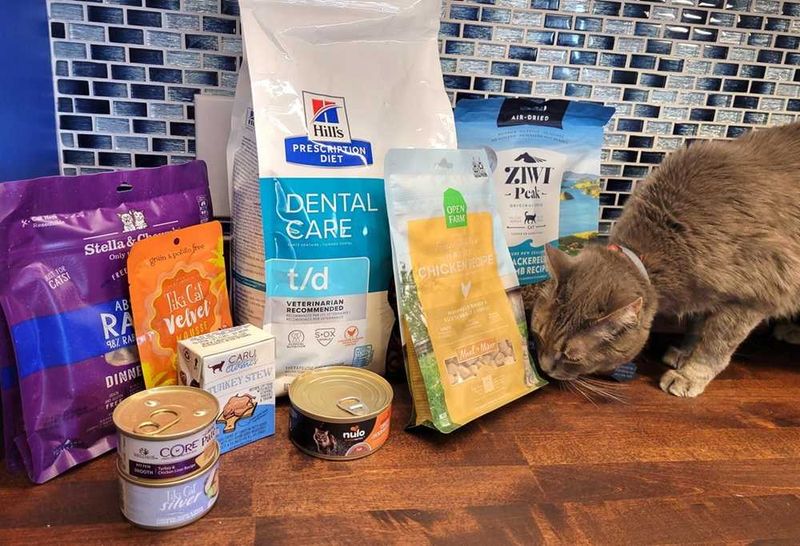
Switching to soft food isn’t just a comfort choice—it’s essential for healing. Crunchy kibble can aggravate the extraction site or dislodge any stitches. For at least a week, feed your cat wet food or soften dry kibble with water or broth. Homemade pureed chicken or vet-recommended diets are also great options. Monitor their eating habits to ensure they’re getting enough nourishment. Some cats might resist the change, so introduce new textures gently. If your cat refuses to eat for more than a day, that’s a red flag. Keep meals simple, moist, and easy to chew.
5. Prevent Rough Play or Chewing
Energy bursts are normal in recovery, but chewing and rough play are not. Remove any hard toys or chewable items from your cat’s space. Even playful biting can strain healing gums or cause bleeding. It’s better to be overly cautious during this phase. Provide soft toys or comfort items instead. If your cat usually plays aggressively, create a calmer environment for a few days. Playtime should be gentle and supervised. Letting the mouth rest is just as important as what your cat eats.
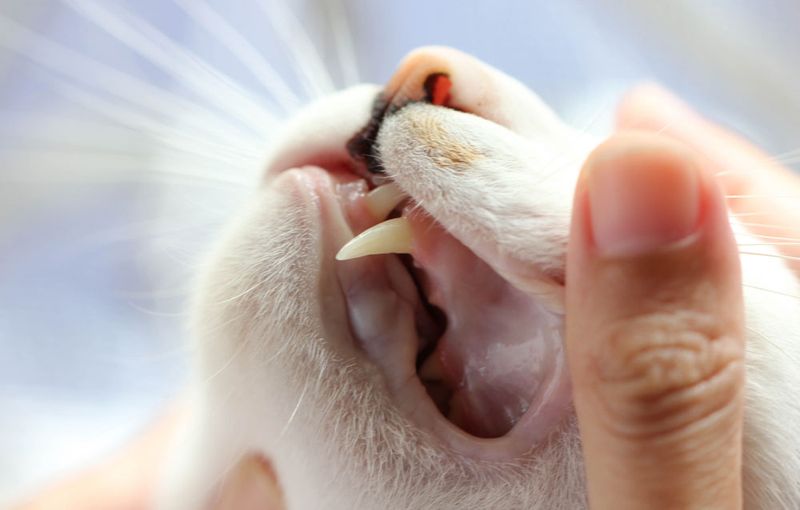
6. Check the Surgery Site Daily

Daily visual checks can help you catch problems before they escalate. Look for swelling, redness, or anything that seems off. A little puffiness is normal, but it shouldn’t worsen over time. If you notice pus, a foul smell, or bleeding, call your vet immediately. Use gentle lighting to examine the outside of the mouth. You don’t need to pry their mouth open—just observe from a comfortable distance. Being proactive could save your cat from pain and prevent complications. Healing should move forward, not backward.
7. Limit Activity (at First)

The days following surgery should be quiet and low-energy. Avoid letting your cat jump, climb, or zoom around too much. Even though they might seem fine, internal healing is still underway. Elevated heart rate or movement can lead to bleeding or swelling. Create a cozy resting area away from distractions. Encourage naps and calm cuddles to keep things mellow. If your cat seems restless, offer gentle attention instead of stimulation. Recovery thrives in a peaceful environment.
8. Watch for Eating or Drinking Changes

Eating habits often shift after oral surgery. Some cats may eat less because of discomfort. Others might struggle to chew or avoid their water bowl altogether. Pay close attention to how much your cat consumes daily. Dehydration and lack of food can delay healing and even lead to secondary issues. If your cat hasn’t eaten or drunk water within 24 hours post-op, contact your vet right away. Encourage small, frequent meals and offer fresh water at all times. Even subtle shifts in appetite matter.
9. Use an E-Collar if Necessary
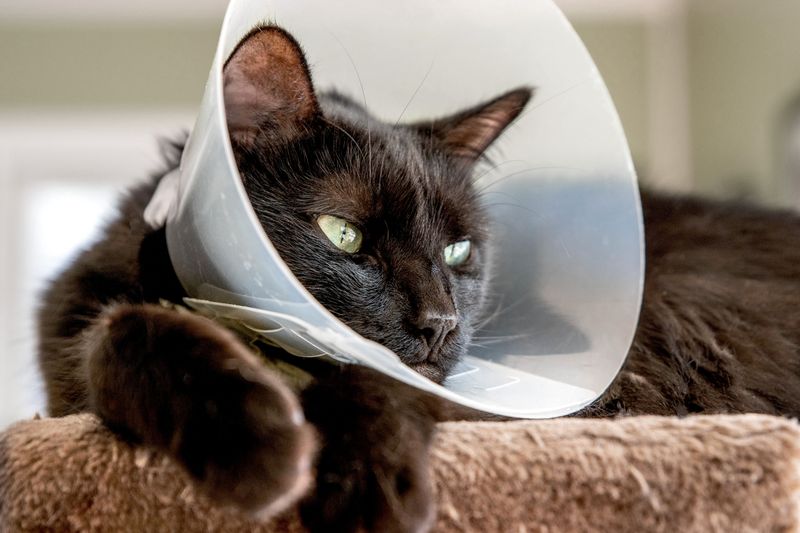
Although not every cat will need one, an e-collar (or cone) can be a lifesaver. It prevents your cat from scratching at their face or licking the wound. Left alone, they might reopen the extraction site or cause infection. Your vet can recommend the best collar size and type. There are softer, more comfortable alternatives if your cat hates the standard cone. Keep it on for the recommended time, even if it seems annoying. Short-term inconvenience beats long-term complications. Your cat’s safety comes first.
10. Go to the Follow-Up Appointment
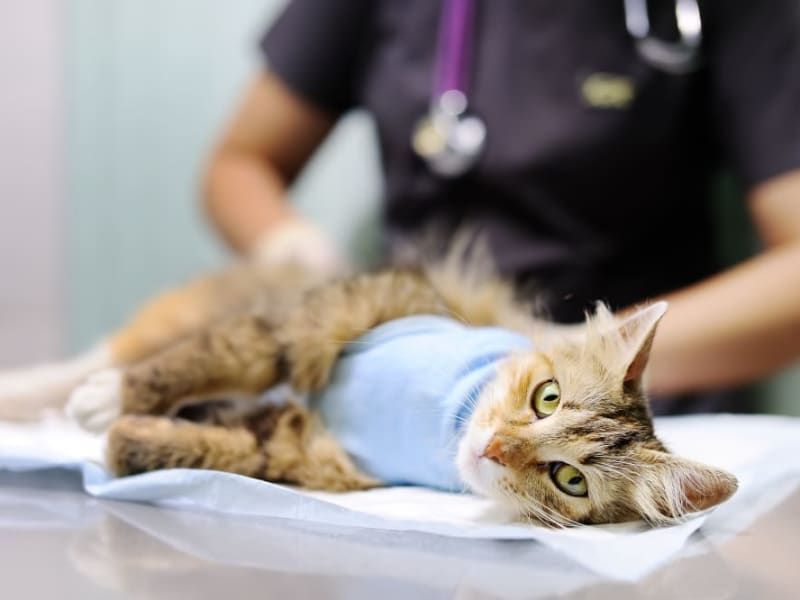
A follow-up visit might seem optional—but it’s anything but. Your vet needs to assess healing, check for infection, and possibly remove sutures. Even if everything looks fine from the outside, internal healing may tell a different story. These appointments often reveal issues before they become serious. Skipping it could result in delayed recovery or missed complications. Bring any notes or questions you’ve had during the recovery process. This is your chance to get expert feedback. Your cat deserves a full and healthy bounce-back.